Today, we’re going to talk about one of the most popular design features that have taken the world of interior design by storm: shiplap walls.
Originally used as a practical construction technique, shiplap has become a go-to choice for homeowners and designers looking to add texture and visual interest to their spaces. With its rustic charm and timeless appeal, shiplap has quickly become a staple in modern farmhouse decor and beyond.
What is Shiplap?
Shiplap is a type of wooden board that is used for both construction and decorative purposes. The name “shiplap” comes from the way that the boards are designed to fit together. Each board has a groove (called a rabbet) along one edge and a protruding lip (called a rebate) along the other edge.
When the boards are installed, the groove of one board fits over the lip of the adjacent board, creating a tight, interlocking joint that is resistant to water and air infiltration. This joint is similar to how planks were traditionally used to build ships, where the name “shiplap” originated!
Shiplap has been used in construction for centuries, particularly in areas where a tight, durable joint was needed to withstand harsh weather conditions. Today, shiplap is often used for decorative purposes as well, adding texture and interest to walls, ceilings, and other surfaces in homes and businesses. Its rustic charm and timeless appeal have made it a popular design element in many decor styles, from country farmhouses to coastal chic.
But why is shiplap so in style? From its versatility to its ability to add depth and character to a room, there are many reasons why the shiplap wall trend is here to stay.
In this post, we’ll dive deeper into the trend of shiplap walls, explore its history, and provide you with inspiration for how to incorporate it into your own home decor. So, get ready to be inspired, and learn the world of shiplap!
How to Decorate with Shiplap on the Wall
Joanna Gaines, the interior designer and co-star of the popular HGTV show “Fixer Upper,” is well known for her use of shiplap in many of her designs. Shiplap walls became a signature element of her style, often used to add character and warmth to the spaces she designed.
In fact, she was so closely associated with shiplap that it became one of the defining features of the modern farmhouse style that she helped popularize. Many fans of the show were inspired by her use of shiplap and incorporated it into their own home decor as well.
You can use shiplap in just about any room of the home. Here are some examples of how to decorate with shiplap walls.
Coastal Bedroom
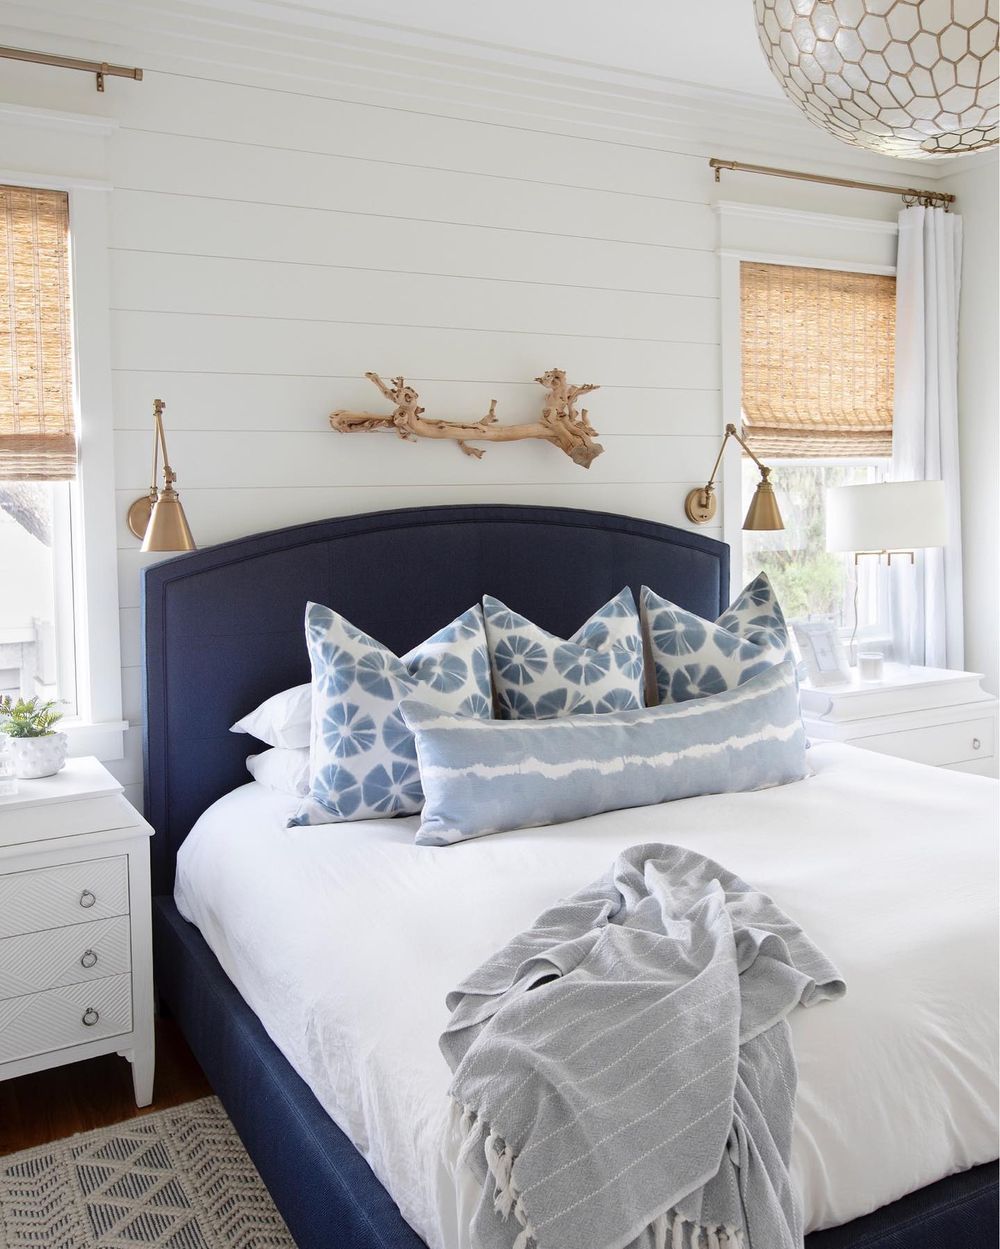
This coastal bedroom looks lovely with a more modern shiplap wall installation. The navy blue headboard contrasts well with the white shiplap walls. A piece of driftwood hangs above the bed for just the right touch of nature.
Farmhouse Shiplap Walls
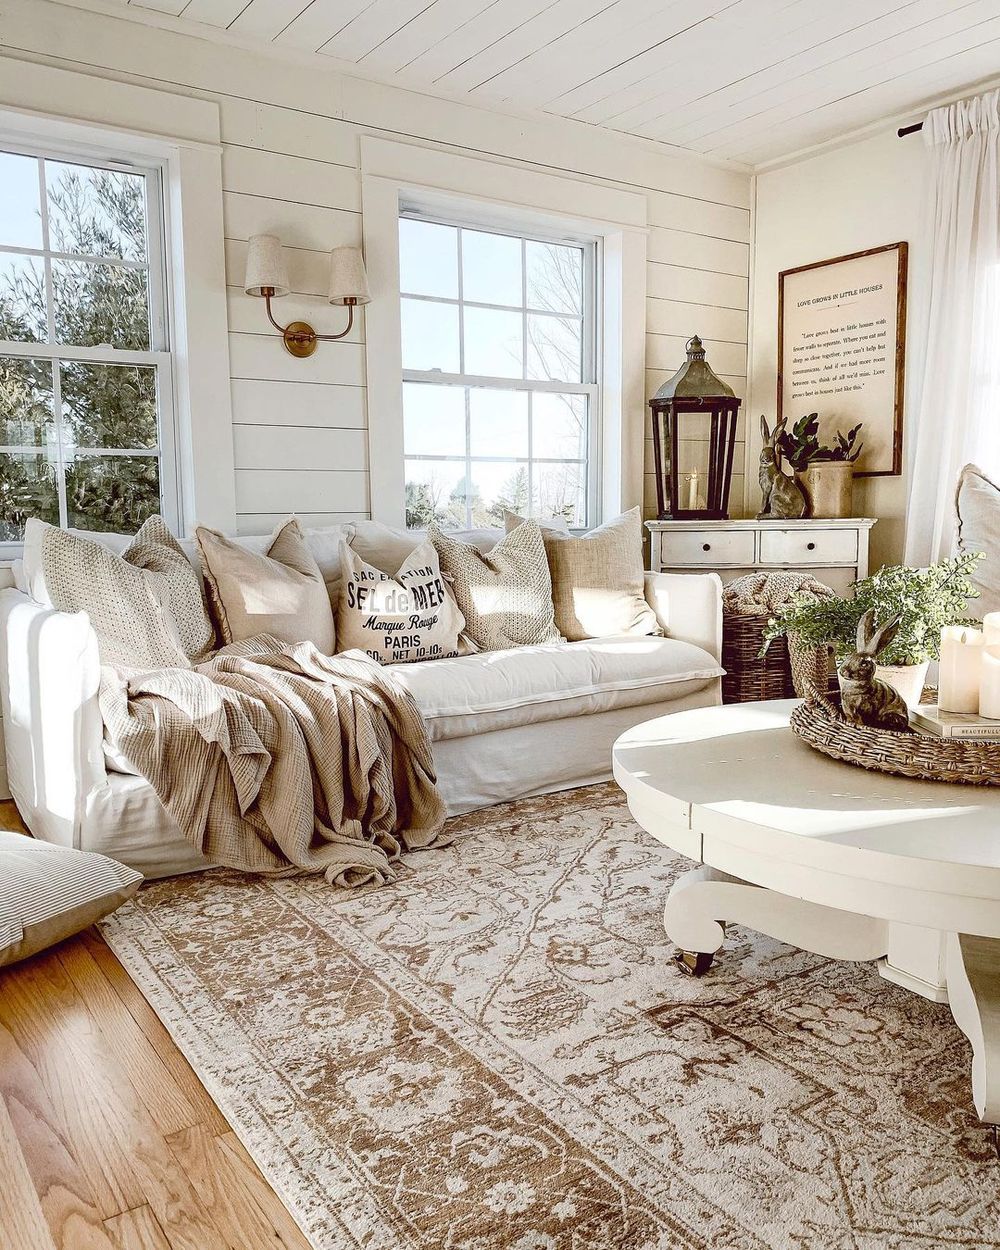
Adding shiplap walls in the living room of a country farmhouse gives the space texture without overwhelming it. The beige color scheme of this family room works well with the creamy shiplap walls.
Coastal Entryway
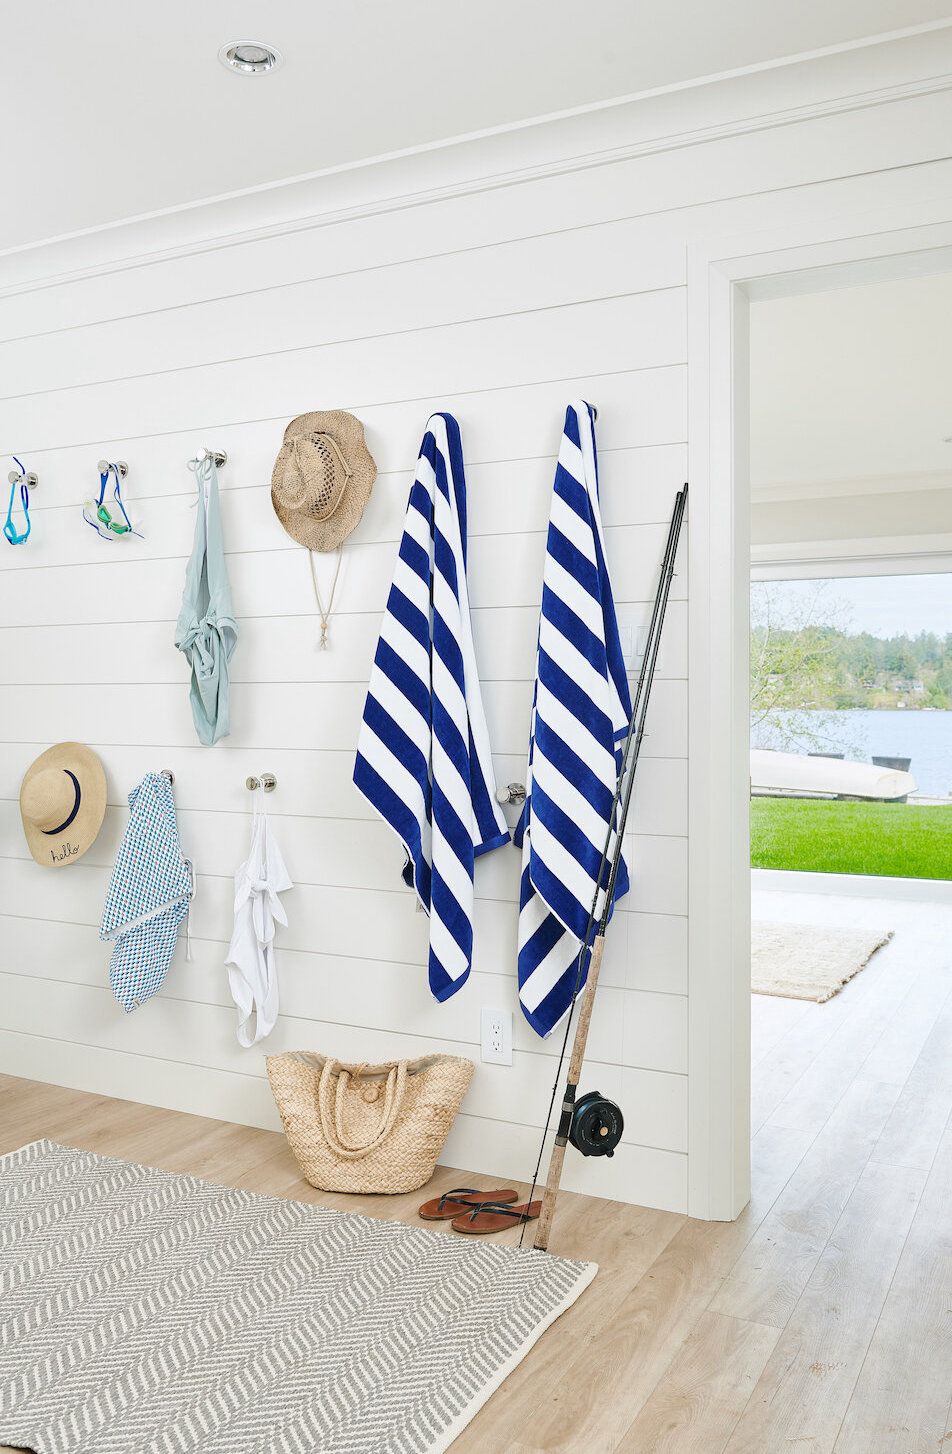
Here’s another example of decorating with clean shiplap walls in a coastal beach home entryway. Hooks have been added in two rows of the shiplap to allow residents to hang up hats, towels, swimsuits, and goggles after a day at the beach. Shiplap adds just the right amount of texture to this otherwise simple white wall.
Shiplap vs. Drywall
Shiplap and drywall are both popular wall coverings, each with its own advantages and disadvantages. Here are some of the pros and cons of shiplap vs. drywall:
Advantages of Shiplap
- Adds texture and visual interest to a room
- Provides a cozy and rustic look
- Can be installed over existing walls
- Hides imperfections in walls or uneven surfaces
- Can be painted or stained to match any decor style
- Durable and long-lasting
Cons of Shiplap
- More expensive than drywall, especially if using hardwood shiplap
- Requires more labor to install, especially for large areas
- Can be challenging to clean, especially if the grooves between boards are not filled
- May not provide as smooth a surface as drywall for painting or wallpapering
Advantages of Drywall
- Less expensive than shiplap
- Provides a smooth and even surface for painting or wallpapering
- Easy to clean and maintain
- Can be installed quickly by a professional
- Can be used in a wide variety of applications
Cons of Drywall
- Does not add texture or visual interest to a room
- Can crack or dent easily if not properly installed
- May require more maintenance over time than shiplap
- Limited design options, as it is typically a plain, flat surface
If you’re looking for a cozy and rustic feel, shiplap may be the way to go. If you prefer a sleek and modern look, drywall might be a better choice!
Cost of Shiplap
The cost to shiplap a wall depends on several factors, such as the size of the wall, the type of shiplap material used, and the complexity of the installation.
Here are some general cost estimates for shiplapping a wall:
- Shiplap Material: The cost of shiplap material can range from $1 to $10 per square foot, depending on the type of material used. For example, MDF shiplap is typically less expensive than hardwood shiplap.
- Installation: If you hire a professional to install the shiplap, you can expect to pay between $3 to $10 per square foot for installation, depending on the complexity of the project.
- Tools and Supplies: You will also need to factor in the cost of tools and supplies, such as a saw, nails, adhesive, and finishing materials. These costs can range from $50 to $300 depending on the quality of the tools and the size of the project.
It’s always a good idea to get quotes from several contractors and compare the costs before starting the project to ensure you get the best value for your money!
Can you DIY Shiplap walls?
Is it hard to shiplap a wall? Shiplapping a wall is a DIY project that can be tackled over a weekend if you already have some intermediate carpentry skills and tools. It’s not easy to shiplap wall if you’re a total beginner, but those with some woodworking experience should be able to handle the project.
There are lots of tutorials online which explain in depth how to DIY shiplap a wall. Here are the general steps required to shiplap a wall:
- Measure the Wall: Determine the square footage of the wall to determine how much shiplap material you will need.
- Choose Your Shiplap Material: Select the type of shiplap you want to use, such as wood or MDF. Be sure to choose a material that is suitable for your project and budget.
- Cut the Shiplap: Cut the shiplap material to the appropriate lengths and angles for your wall. Be sure to account for any outlets, windows, or other obstacles in your measurements.
- Install the Shiplap: Begin installing the shiplap at the bottom of the wall and work your way up. Use a level to ensure that each board is straight and even. Secure the shiplap to the wall with nails or adhesive.
- Finish the Shiplap: Fill any nail holes or gaps between the shiplap boards with wood filler or caulk. Sand the surface of the shiplap to ensure it is smooth and ready for painting or staining.
While shiplapping a wall is not the most challenging DIY project, it does require some time and effort. If you are inexperienced with carpentry or unsure about your ability to shiplap a wall, it may be best to hire a professional to ensure you get the look you want!


